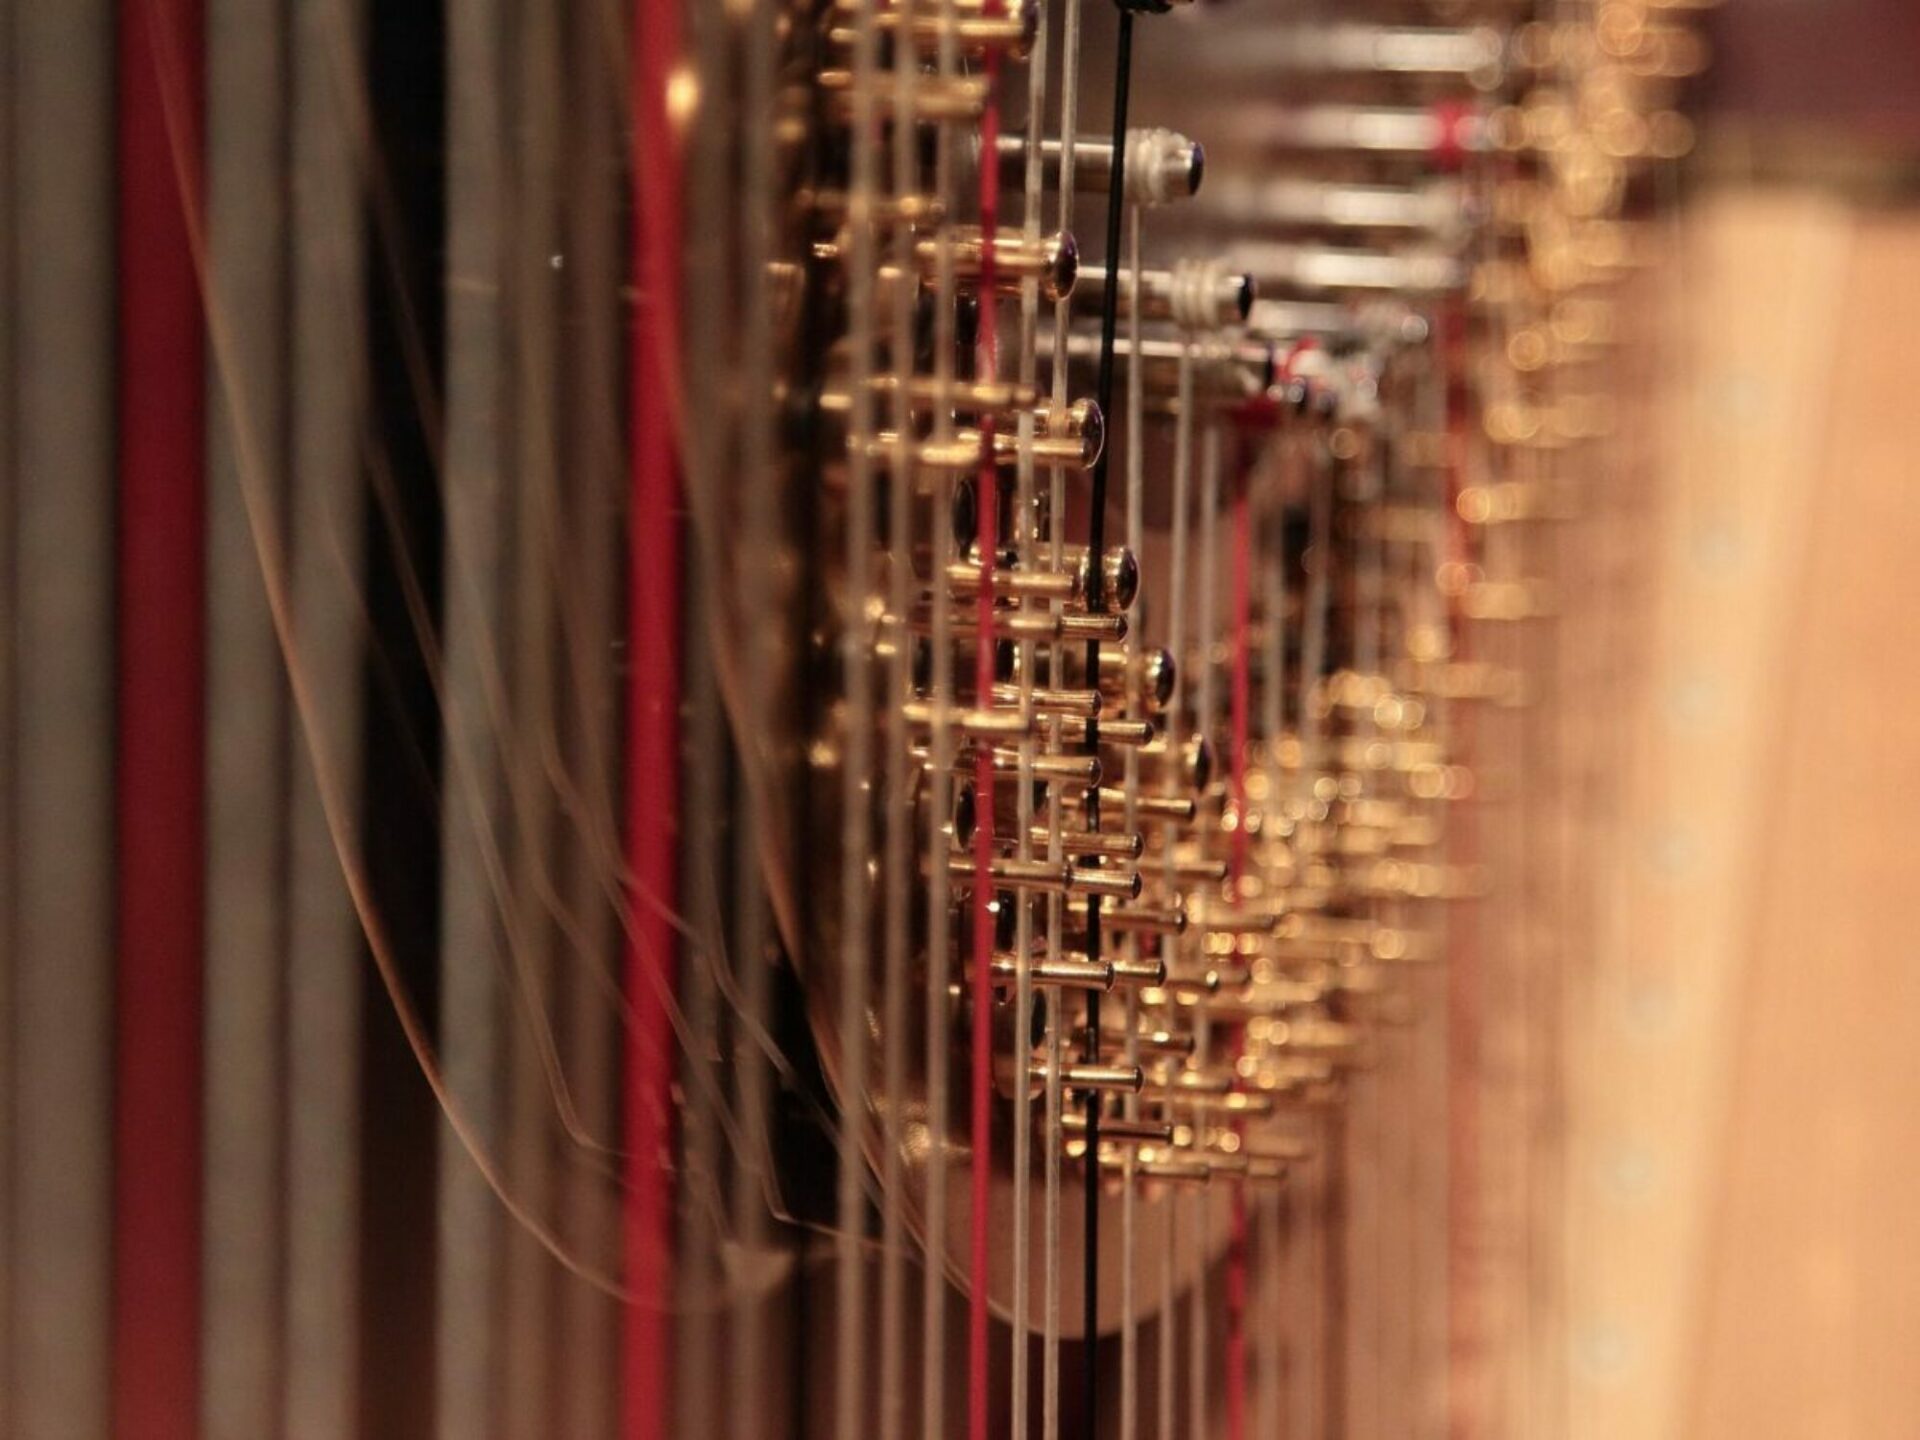
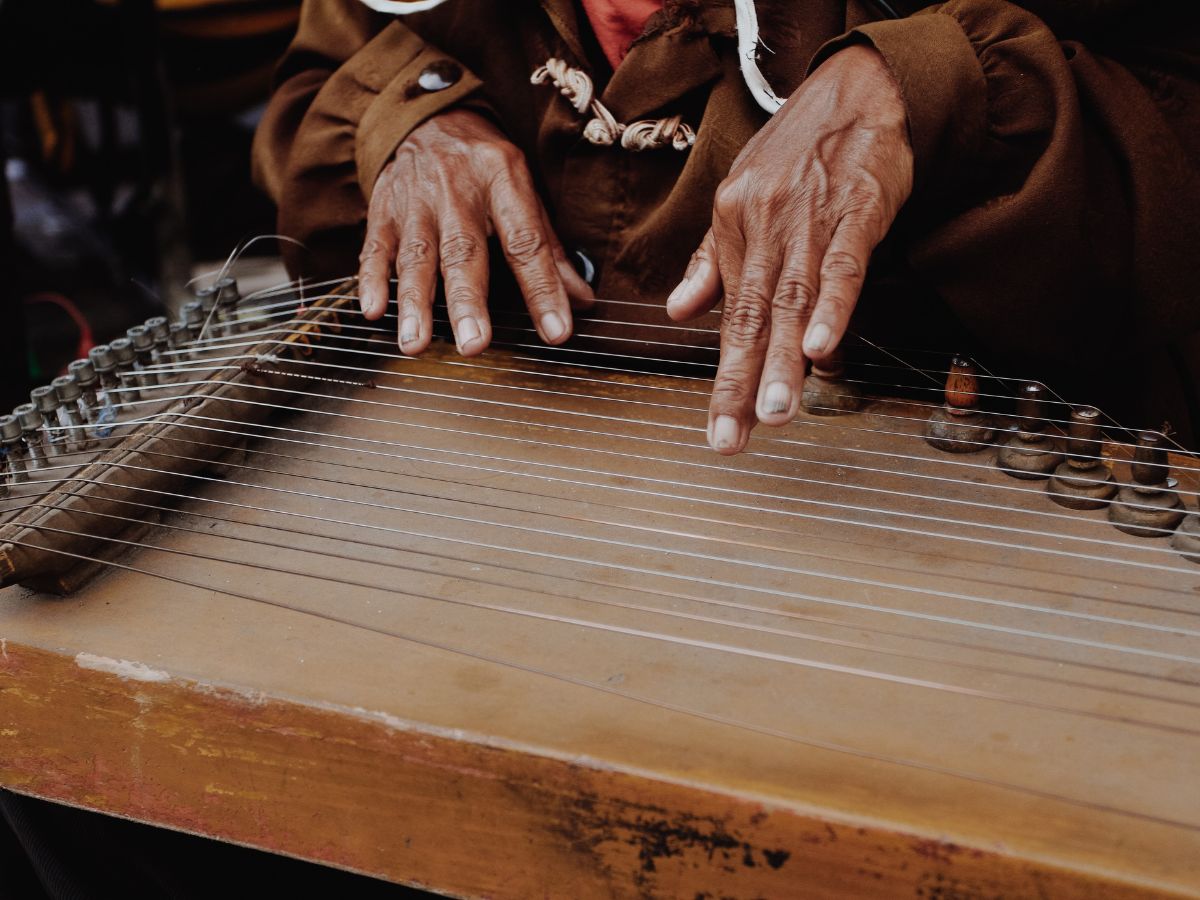
The harp is a beautiful, one-of-a-kind instrument that has been played for hundreds of years. Its beautiful look and sound have made it a favorite among musicians and people who like music. Even though many people buy already-made harps, there is something special about making your instrument. In this guide, we’ll talk about how to make harps and show you how to make your own step-by-step.
Understanding the Anatomy of a Harp
Before building a harp, it’s important to know its different parts and how they work together to make a sound. The soundboard, neck, column, and base are the most important parts of a harp. The flat surface that makes sound is called the soundboard. It is usually made of spruce or cedar wood.
The strings are held by the neck, the long, thin part of the harp that connects to the soundboard. The pillar is the vertical support that runs up the back of the harp, and the base is the flat bottom that keeps the harp from falling over.
Choosing the Right Materials
The materials used to make it are very important to get the sound and style you want from a harp. Most soundboards are spruce or cedar, while the neck, pillar, and base are usually made of hardwoods like maple or cherry. For making a harp, you also need strings, tuning pins, and levers or pedals to change the pitch.
When choosing materials, thinking about how you want the harp to sound and look is important. For instance, a harp for classical music might need a different kind of wood and strings than a harp for folk or Celtic music.
Designing the Harp
After picking out the materials, the next step is to design the harp. This means planning the size and shape of the harp, making a plan or pattern, and thinking about how it will be used and how comfortable it will be to play.
When making a harp, it’s important to think about how the player will feel and how easy it will be to use. The strings and levers or pedals should be set up so that the instrument can be played easily and smoothly.
Building the Harp
After the design is decided, the building process can begin. Building a harp can be difficult and take a lot of time, but the result is a unique, unique instrument.
Usually, each part of the harp is made separately and then put together. This includes shaping and sanding the soundboard, carving the neck and pillar, and making the base. To make sure the harp is structurally sound and in tune, it is important to follow the plan and use exact measurements.
Finishing Touches
After the harp has been put together, it needs some finishing touches. This includes carving or painting the harp, putting a finish on the wood to protect it, and tuning it.
The harp’s decorations can be as simple or complicated as the player wants. They can have intricate carvings or colorful designs. A finish like lacquer or oil can be put on wood to keep it from getting wet or worn down. Last, the harp needs to be tuned so that each string makes the right sound.
Playing the Harp
Now that the harp is built and finished, it’s time to learn how to play it. Even though playing the harp might seem hard, anyone can learn to do it and enjoy it with practice and hard work.
The most basic ways to play the harp are to pluck the strings with your fingers, change the pitch with levers or pedals, and move the soundboard to make vibrato or other effects. There are many ways to learn how to play the harp, such as through books, online tutorials, and private lessons.
Conclusion
Making a harp is a rewarding and fulfilling art that lets musicians and people who love music make a beautiful and useful instrument that is one of a kind. Anyone can enjoy the magic and wonder of the harp if they know how it works, choose the right materials, design the harp, build it carefully, add the finishing touches, and learn to play it.
Even though building a harp may seem hard, anyone with patience, persistence, and a love of music can do it if they have the right tools and some help.


